
No-Fail Easy Sourdough Starter Recipe: Perfect Every Time
Introduction
Sourdough bread is a delightful culinary creation that brings together simplicity and flavor. At the heart of every great loaf is a robust sourdough starter, which can seem intimidating to make. However, with this no-fail easy sourdough starter recipe, you can achieve a thriving culture every time, ensuring that your bread will have that signature tang and crusty exterior.
Whether you’re a novice baker or a seasoned pro, this starter will become your trusted companion in the kitchen, unlocking endless possibilities for delicious homemade sourdough bread.
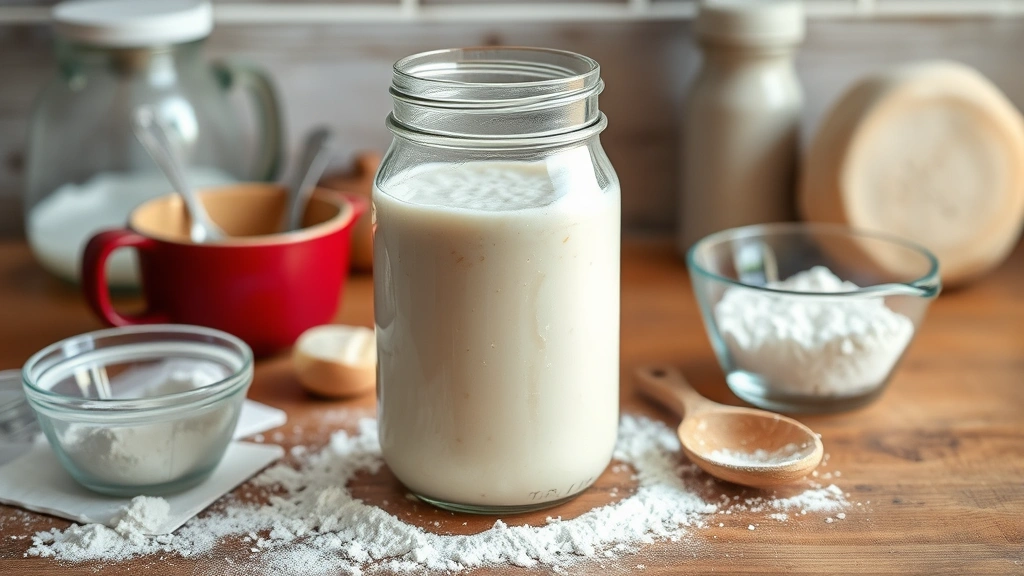
- Visual Appeal: A bubbly, well-fed sourdough starter takes on a frothy texture, indicating it’s ready to bake with.
- Perfect Pairing: Use your starter to create rustic sourdough loaves, pancakes, or even sourdough pizza crusts.
- Occasions to Serve: Homemade sourdough is perfect for gatherings, family dinners, or as a personal treat on a cozy day in.
Recipe Overview
- Servings: Makes approximately 1 cup of starter
- Prep Time: 10 minutes (plus waiting time)
- Cook Time: N/A
- Total Time: 7 days (for full fermentation)
- Calories: 25 calories per tablespoon (approximate)
Nutrition Information
- Serving Size: 1 tablespoon
- Calories: 25
- Carbohydrates: 5g
- Protein: 0.5g
- Fat: 0g
- Sodium: 0mg
Ingredients List
For the Starter
- 1 cup all-purpose flour (or whole wheat flour)
- 1/2 cup water (filtered or dechlorinated)
Step-by-Step Instructions
- Day 1: In a clean glass jar, mix 1 cup of flour with 1/2 cup of water. Stir until there are no dry bits of flour. The mixture should be thick but pourable. Cover loosely with a lid or a cloth and let it sit at room temperature (ideally around 70°F to 75°F).
- Day 2: You may not see bubbles yet. Discard half of the mixture (about 1/2 cup) and add another 1 cup of flour and 1/2 cup of water. Stir well and cover loosely again.
- Day 3: You should start seeing some bubbles forming. Discard half of the starter and feed it with another 1 cup of flour and 1/2 cup of water. Mix well and cover loosely.
- Day 4: The starter should be noticeably bubbly and have a pleasant sour smell. Repeat the feeding process—discard half and add 1 cup of flour and 1/2 cup of water.
- Day 5: By now, your starter should be active and rise significantly after each feeding. Continue to feed it, discarding half before adding flour and water.
- Days 6-7: Keep feeding your starter once a day. It should double in size within 4 to 6 hours of feeding. When it reaches this stage, it’s ready to use for baking!
Tips for Success
- Use a kitchen scale for accurate measurements, especially if you’re using flour types that absorb water differently.
- Maintain a consistent temperature; too cold will slow fermentation, while too hot may kill the yeast.
- If you notice a liquid layer forming on top (called hooch), it means your starter is hungry. Simply stir it back in or pour it off before feeding.
Troubleshooting Common Issues
- No bubbles or growth: Ensure the starter is kept at a warm enough temperature and that you’re using fresh flour.
- Off-smells: If your starter smells overly sour or unpleasant, it may be contaminated. Discard and start fresh.
- Starter not rising: Check the water temperature and ensure it’s neither too hot nor too cold.
Frequently Asked Questions
- Can I use tap water? It’s best to use filtered or dechlorinated water to help the yeast thrive.
- How do I store my starter long-term? You can refrigerate your starter after it becomes established. Feed it once a week and bring it back to room temperature before using.
- Can I use whole wheat flour instead? Yes, whole wheat flour can enhance the flavor and fermentation of your starter.
- What if my starter is too runny? Add more flour to thicken it, but be sure to keep the 1:1 ratio of flour to water when feeding.
- How do I know when my starter is ready to bake with? When it doubles in size within 4-6 hours of feeding and has a pleasant, tangy aroma, it’s ready!
Conclusion
Creating your own sourdough starter is a rewarding experience that opens the door to delicious homemade bread. With just flour and water, you can cultivate a living culture that transforms your baking. Follow this easy recipe, and you’ll soon be on your way to baking perfect sourdough loaves that impress family and friends alike. Happy baking!